.webp)
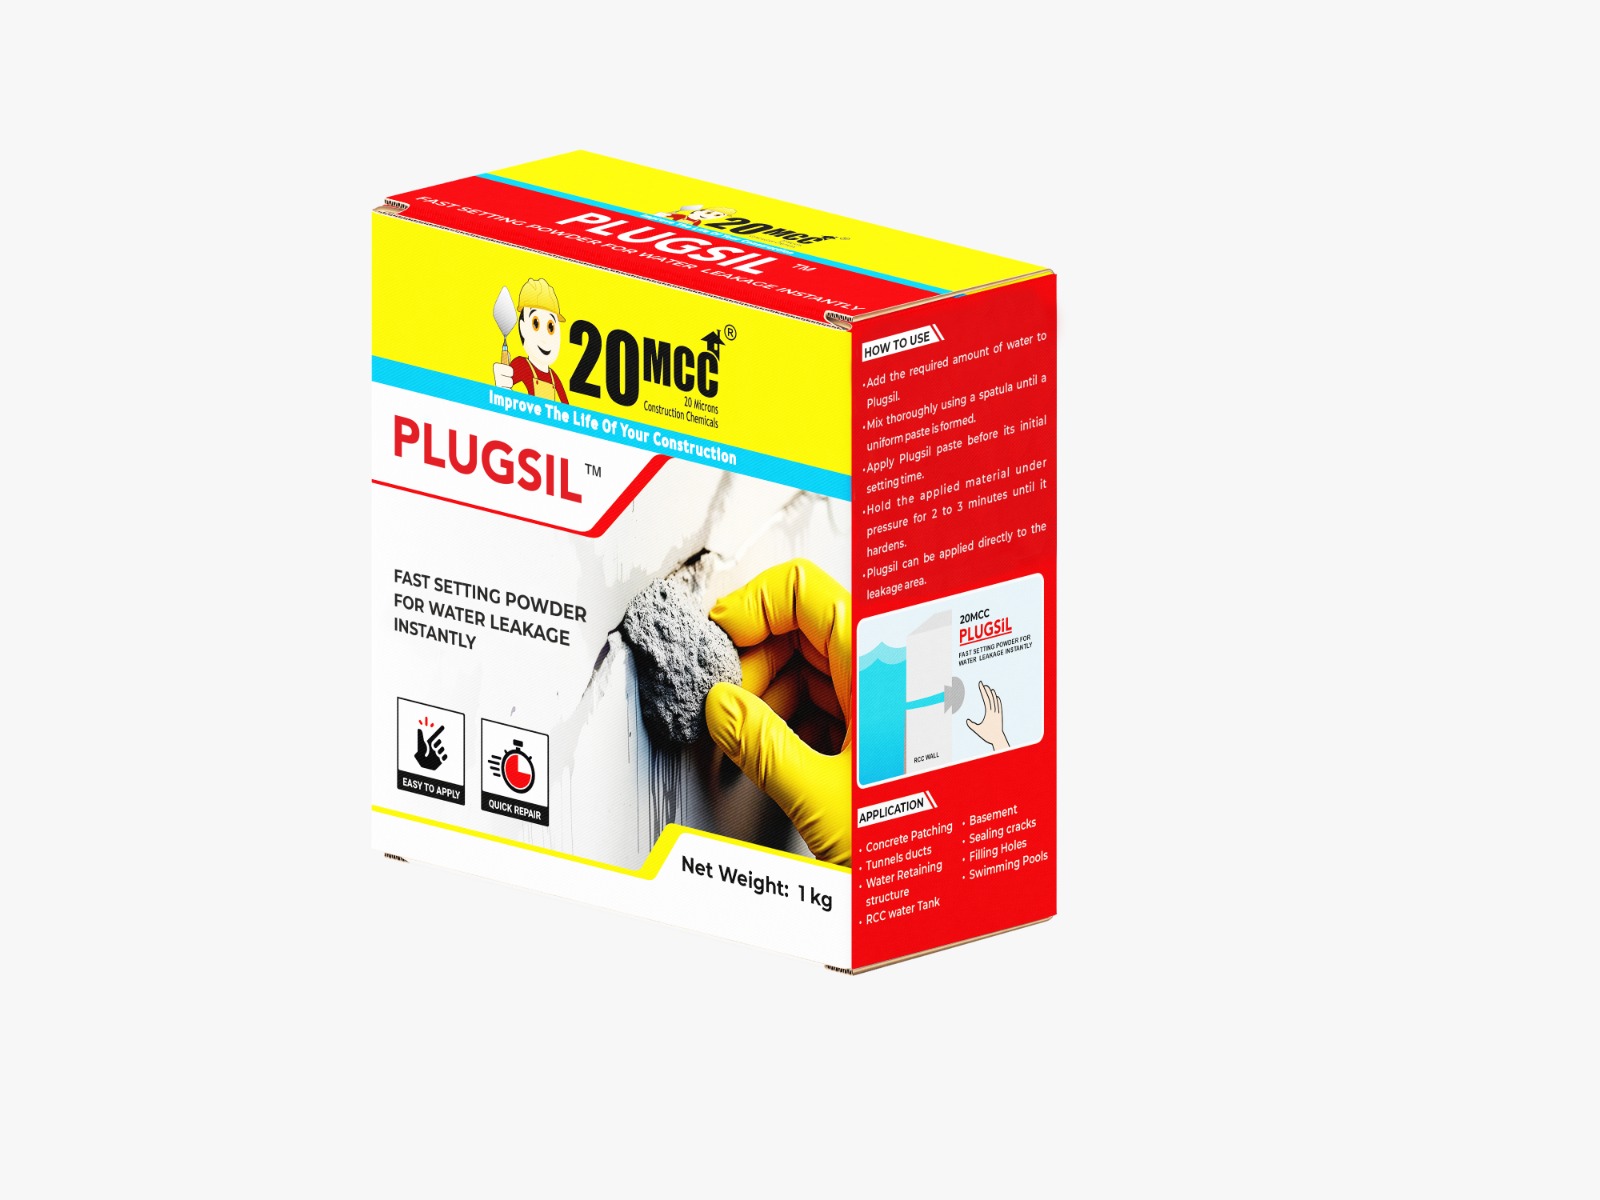
Construction Chemicals

Damp walls and peeling paint are more than just an aesthetic issue—they’re a gateway to long-term structural damage and health concerns like mold growth. While professional repairs can sometimes be necessary, there are several effective DIY strategies to prevent and fix damp walls and paint damage. Damp walls are more than just an eyesore—they can severely impact the structural integrity of your home and create an unhealthy living environment. Moisture trapped in walls encourages mold and mildew, which can trigger allergies, respiratory issues, and other health problems. Over time, dampness weakens plaster, damages woodwork, and compromises the durability of your paint and finishes. Ignoring the issue could also lead to skyrocketing repair costs. For instance, unchecked dampness can infiltrate electrical systems, leading to safety hazards and expensive rewiring needs. This is why addressing the problem at its root and taking preventive measures is essential for every homeowner. Let’s explore some apply and supply tips to protect your home from damp walls and the resulting paint damage. Before you address the symptoms, identify the root cause of the dampness. Is it due to water seepage, condensation, or plumbing leaks? A simple way to diagnose is to check for signs like discolored patches, blistering paint, or moldy smells. If you notice dampness near ceilings or higher walls, it could be a leaky roof or exterior seepage. In contrast, dampness near the floor often indicates rising moisture from the ground. Fixing the source with damp wall solutions—be it patching cracks, fixing broken pipes, or unclogging drainage systems—ensures that your efforts to repair the walls won’t be short-lived. The first step to protect your walls from water damage is proper preparation. Scrape off any peeling paint or damaged plaster with a putty knife. Sand the surface thoroughly to create a smooth, clean base. Use a mild detergent to clean off any mold or mildew and let the wall dry completely before moving forward. In humid climates, you can use a dehumidifier or fans to speed up the drying process. Proper preparation not only ensures that your repair work adheres well but also prevents further damage down the line. Applying high-quality waterproofing for damp walls like Nanosil or sealant like Micronsil is essential for damp walls. These products create a barrier that prevents moisture from seeping into the surface. After the primer dries, you can use a damp-proofing paint specifically designed to withstand humid environments. The best products for wall dampness have anti-fungal properties and offer long-lasting protection. For areas prone to extreme dampness, like basements, consider a multi-coat application for added durability. Often, damp walls inside your home are a result of water penetration through the exterior walls. Inspect your home's exterior for cracks or holes that may be letting moisture in. Use a crack filler like Cracksil to seal these openings. For older homes, consider applying an additional coat of exterior weatherproof paint like Tigersil. You could also use exterior cladding or tiles to create an impermeable shield, particularly in high-rainfall regions. One of the most overlooked aspects of treating damp walls is selecting the right paint. Many homeowners mistakenly choose dense, glossy paints that trap moisture inside the walls. Instead, go for breathable, matte emulsions that allow moisture to evaporate naturally. Lime-based paints or moisture-resistant emulsions work particularly well in damp areas, as they provide ventilation while keeping fungal growth at bay. Apply at least two coats to ensure even coverage and protection. Preventing damp walls is not just about what you apply but also about the surrounding environment. Poor ventilation is a significant contributor to condensation and dampness. Ensure that your home has adequate airflow by installing exhaust fans in kitchens and bathrooms, where moisture levels are typically high. Keep windows open whenever possible, especially after cooking or showering, to allow fresh air to circulate. If natural ventilation isn’t feasible, consider investing in an HVAC system with a dehumidifier function. Even after you’ve treated the walls, periodic checks can save you from future headaches. Inspect walls and ceilings for early signs of dampness or peeling paint every few months, particularly during the rainy season. Ensure that your roof, gutters, and plumbing systems are in good condition. Regular maintenance not only helps you catch problems early but also prolongs the life of your repairs. Damp walls and paint damage can be persistent problems, but with the right approach, they’re entirely manageable. From sealing cracks and waterproofing surfaces to using durable materials and breathable paints, these apply and supply tips can help you restore your home’s walls and prevent future issues. A proactive approach, coupled with regular maintenance, ensures that your living spaces remain healthy, beautiful, and long-lasting.Why Damp Walls Shouldn't Be Ignored
1. Diagnose the Source of the Dampness
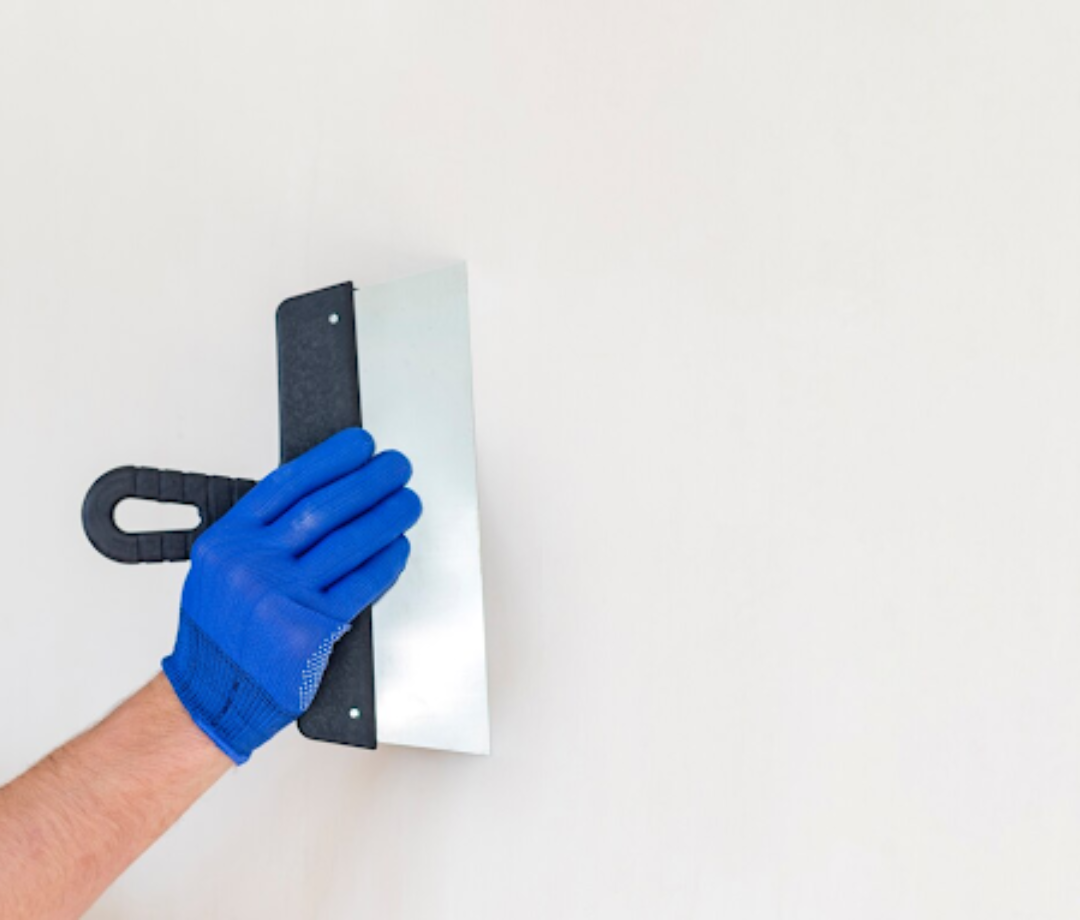
2. Prepare the Wall for Treatment
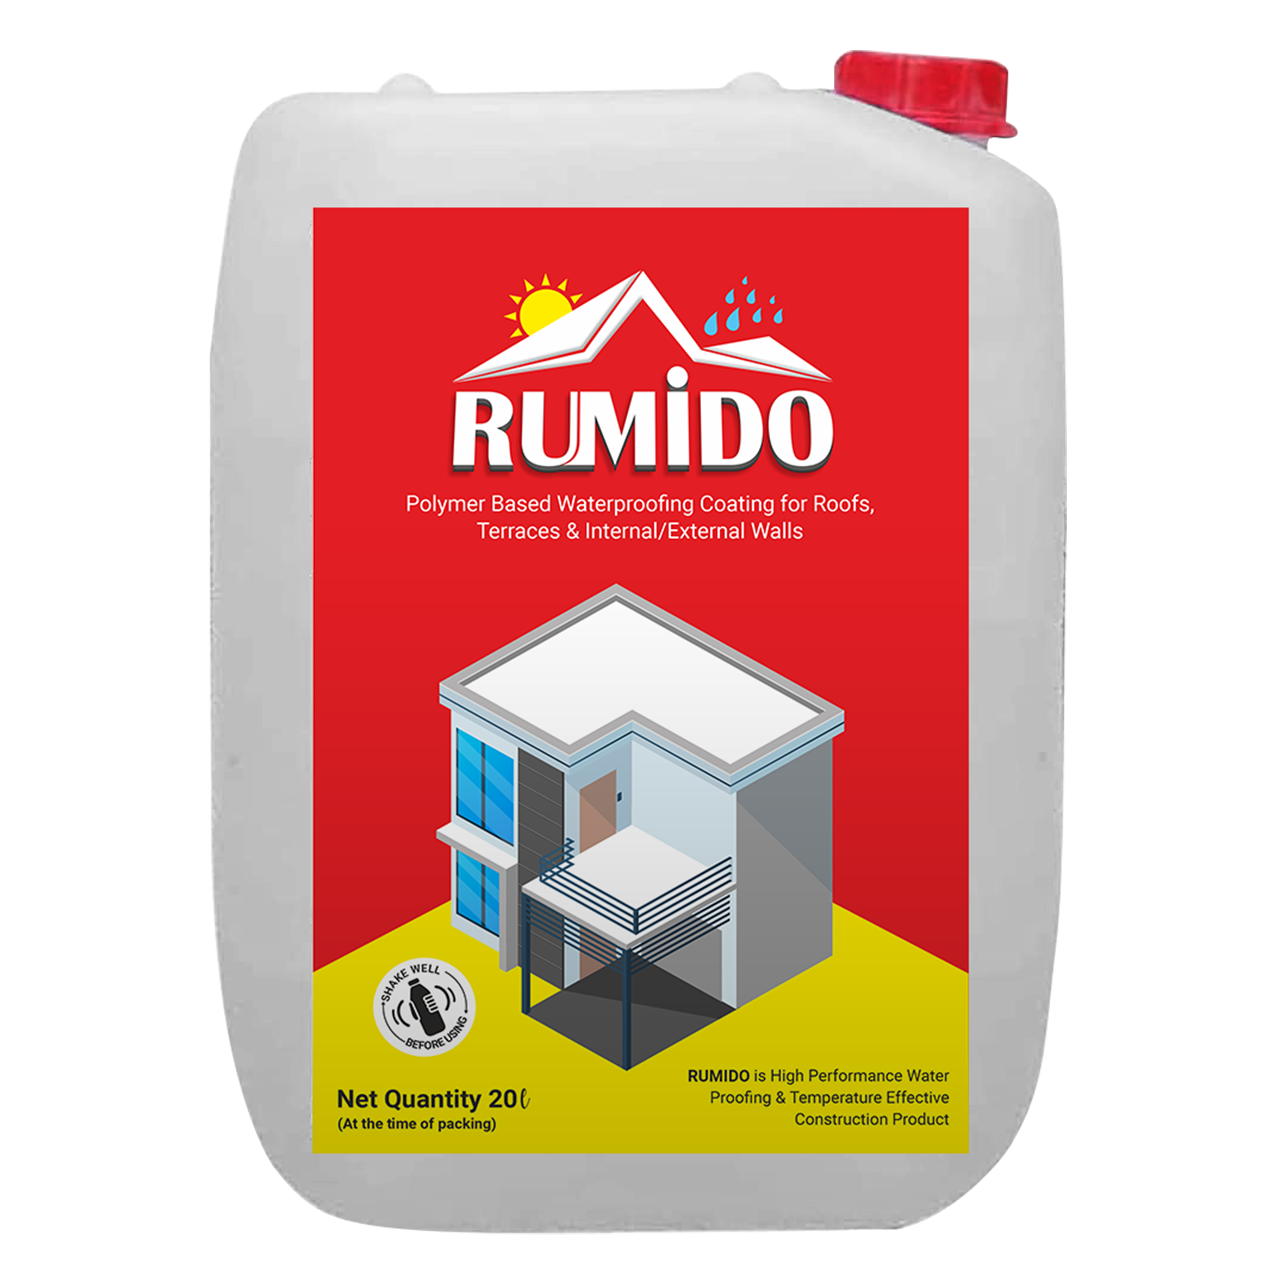
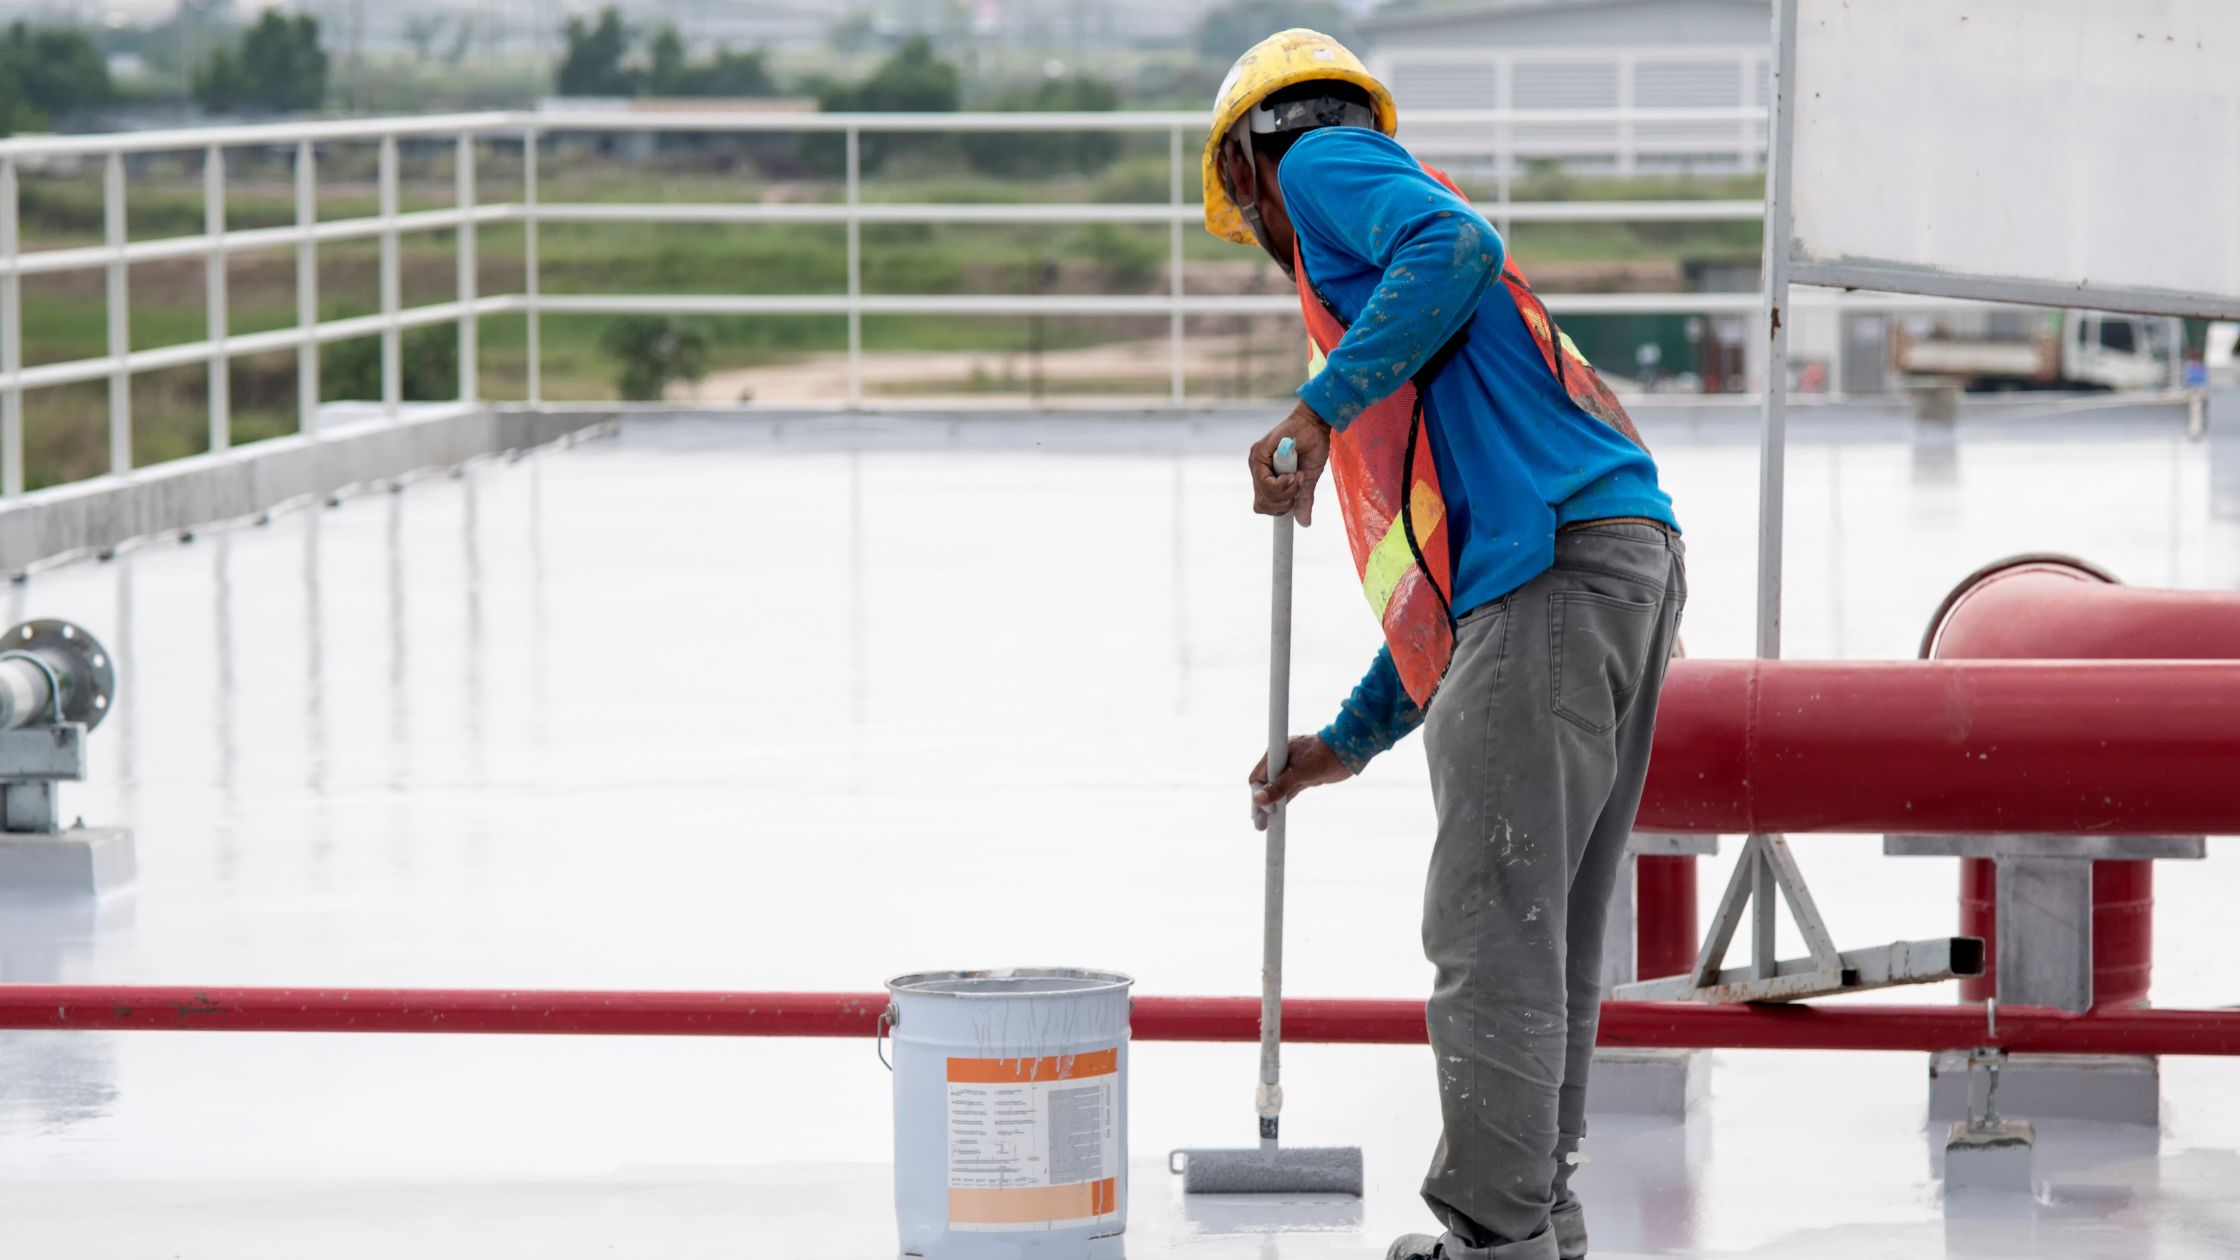
3. Seal and Waterproof
4. Fix Exterior Walls to Prevent Seepage
5. Opt for Breathable Paint
6. Improve Ventilation in Damp Areas
7. Maintain Regular Check-Ups
Protect Your Home with 20MCC