.webp)
Construction Chemicals

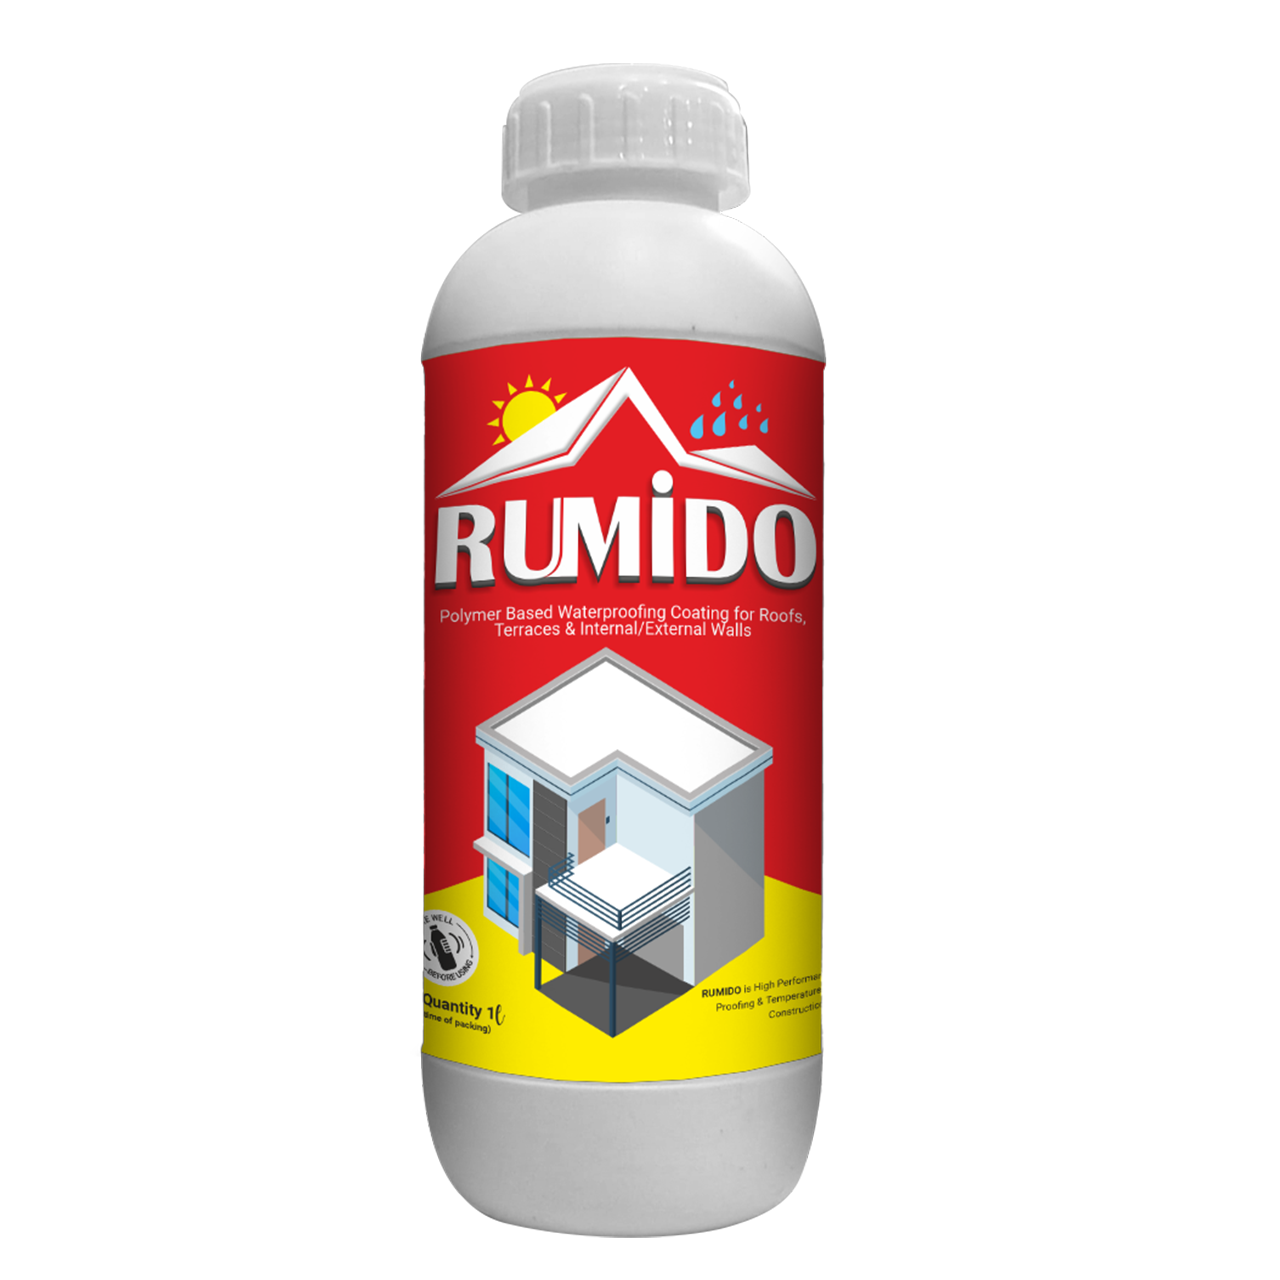
When you hear the word waterproofing, your first thought might be about a leaking roof or a soggy bathroom corner. But one area that gets hit just as hard, often without you noticing, is your exterior walls. These walls take the brunt of sun, rain, wind, and pollution day in and day out. Now, if you’ve seen paint starting to bubble or peel off, or strange damp patches popping up in places they shouldn’t, your walls might be trying to tell you something, water is getting in. And when it does, it doesn’t just hang around on the surface. It digs in, finds tiny cracks, creeps through layers, and starts making a mess from the inside out. Many people don’t realize the damage until it’s too far gone, by then, you’re looking at repairs that take time, money, and a lot of patchwork. But you don’t have to wait that long. With the right approach and good products, you can stop water before it starts doing any harm. This guide breaks it all down for you: why waterproofing your exterior walls matters, how to do it properly, and the methods that actually work. It’s easy to admire your home’s exterior walls for their paint color or finish. But those walls are doing a whole lot more than just looking good. They’re acting as a shield, protecting your home from all the stuff outside: rain, harsh sun, heat, dirt, and even pollution. But even the strongest wall needs backup. Over time, that exposure chips away at the surface. Small cracks begin to form. Paint starts fading and flaking. Eventually, you’ll notice a damp spot inside that wasn’t there before. That’s water finding its way in. And once water is in, it travels. It seeps into the plaster, damages the paint, reaches electrical wires, and in some cases, even causes mold or wood rot. This is why waiting too long to fix things can cost you way more later. Exterior wall waterproofing is like armor for your house. It blocks out water, seals the gaps, and gives your walls the ability to fight back. Done well, it helps you avoid all those messy repairs and keeps the structure solid for years. Your walls don’t come with warning alarms, but they do show signs when something is wrong. These signs might seem small at first, but they’re your first sign that moisture is getting in and it won’t stop unless you do something about it. Cracks on the outer surface Stains or discolored patches inside the rooms Paint that is blistering, flaking, or coming off in sheets Green moss or black mold marks on exterior walls A musty smell indoors White, powdery patches on bricks or plaster Different wall types have different waterproofing needs. What works well for a newly painted home in Delhi may not work for an older stone structure in Kochi. That is why choosing the right method based on the condition and material of your wall is important. These are the most trusted options used across Indian homes and buildings. These coatings create a flexible, waterproof layer on your wall that keeps water out while still allowing the surface to breathe. That ventilation helps avoid trapped moisture, which often leads to bubbling and peeling later. This coating is best for plastered or painted exterior walls in good condition. Pros: UV resistant Available in different colors Easy to apply with a brush or roller Budget-friendly Make sure the surface is clean before application. Dust, grease, or loose paint can prevent it from bonding properly. 20MCC Rumido is a reliable acrylic coating that helps reduce surface heat and offers proper ventilation. This traditional method involves mixing a waterproofing powder (usually polymer-modified) with water and applying it like cement slurry. Once dry, it forms a rigid, water-blocking layer. This is best for raw concrete or brick walls, especially in new construction. Pros: Strong and durable Works well in extreme weather Affordable for large areas Use Micronsil 30 C Plus for added strength in plaster, and Cracksil to fill cracks beforehand. These coatings stretch with your walls. They are ideal for older structures or walls that expand and contract with temperature changes. Even if tiny cracks show up later, the coating flexes and holds. It is best for ageing buildings or surfaces with hairline cracks. Pros: Bridges minor cracks Long lifespan (often 5–10 years) Good resistance to rain and pollution It has slightly higher cost than acrylic, but you get stronger long-term performance. These are clear liquid solutions that penetrate the wall and make it water-resistant from within. Since they don’t leave any visible coating, they’re great when you want to keep the original wall finished. It is best for exposed brick, natural stone, or unpainted surfaces. Pros: Leaves no visible film Deep surface penetration Low maintenance Nanosil is a solvent-free, UV-resistant silicone repellent suited for concrete, bricks, tiles, and wood. Cladding involves attaching a second outer layer, like tiles, PVC, stone panels, or composite boards to the wall. It looks great and gives excellent protection. It is best for premium residences, office buildings, or where aesthetics matter. Pros: Adds insulation and soundproofing Protects against direct rain, wind, and heat Visually impressive and modern Cladding has a high installation cost and requires experienced labor. Also, drainage behind the cladding must be designed carefully. Waterproofing is about how well you apply the solution. You can spend on the best coating out there, but if you skip a few basic steps, water will still find a way in. Here’s the process that professionals and experienced homeowners swear by. It’s not complicated, but every step counts. Start simple: walk around your home. Look at the walls during or just after a rain. Are there damp patches, paint bubbling, cracks near the windows or roofline? These spots usually tell you where water sneaks in. Make notes so you don’t miss anything later. Before anything else, clean those walls. Scrape off peeling paint, moss, loose plaster, whatever is clinging to the surface. Use a wire brush or a pressure washer if needed. The wall should be clean, firm, and slightly damp, definitely not dripping wet. Cracks, even the hairline ones, are where water loves to hide. Use a proper crack filler like Cracksil. If the cracks are fine, widen them slightly so the filler can get in and hold better. Don’t skip this step, it makes a big difference. Some coatings don’t stick well without a primer. If your waterproofing product recommends one, apply it. It seals up micro-pores and helps the next layer do its job properly. Now comes the actual treatment. Depending on what you are using, Rumido for acrylic, Nanosil for invisible silicone, or an elastomeric solution, apply it in two or three coats. Make sure you give enough drying time between each layer. Let the final coat dry fully. This could take 24 to 48 hours, depending on the weather and the product. Once it’s dry, you can either leave it as-is or apply paint over it, depending on the finish you’re going for. Done right, this process gives your walls long-lasting protection and keeps moisture where it belongs, outside. Waterproofing your exterior is about protecting your home from the kind of slow damage you don’t always see until it’s too late. When done right, it saves money, improves your living conditions, and adds value to your home, all at once. Moisture is the enemy of strong walls. Over time, it seeps into small cracks, eats away at plaster, damages wiring, and even weakens the structural base. Waterproofing creates a barrier, stopping the problem at the surface before it becomes something worse. If you have ever repainted a wall only to see it bubble and peel a few months later, moisture was likely the cause. A proper waterproof coat underneath gives paint a solid foundation. It stays on longer, looks better, and doesn’t flake off at the first sign of rain. Dampness leads to mold and mildew, which can affect your lungs, especially if someone in the house has asthma or allergies. Waterproof walls keep that musty smell out and the air inside cleaner. Let’s face it: buyers notice walls. A dry, clean, well-maintained exterior gives the impression that the whole house is cared for. It’s a small thing that makes a big difference when it comes to resale or renting. Fixing water damage after the fact, replastering, repainting, dealing with mold or structural repair, is not cheap. Waterproofing is a one-time job that prevents those expenses later. Think of it as a small cost today that saves you a whole lot down the line. It’s tempting to think waterproofing is as simple as brushing on a coat and calling it a day. But that’s exactly how problems start. A small oversight today can turn into a major leak tomorrow and by then, it’s too late. If you’re taking the DIY route or hiring someone, here are a few mistakes that sneak in more often than you’d think: If you skip over cracks and go straight to coating, you’re basically putting a bandage on a wound without cleaning it first. Water will still creep in. Always seal up visible cracks properly, use something reliable like Cracksil from 20MCC. It’s not just an extra step; it’s the step that keeps your walls dry. If your walls are covered in dust, moss, flaking paint or worse, dripping wet, nothing is going to stick right. Clean them thoroughly. Use a wire brush, wash if needed, and let them dry until just damp. Only then is your wall ready for anything. You can also use Tigersil for exterior wall waterproofing. Some coatings absolutely need a primer to grip and perform the way they should. Skipping it because you’re in a rush or think it’s optional is a method for peeling, bubbling, and regret. Always check what your waterproofing product requires. Corners, edges, and wall junctions are where water loves to sneak in first. Yet, these spots often get the least attention. Go the extra mile here and reinforce them well. It makes a real difference. It is tempting to get the lowest-priced product. But when that coating fails in a year, the cost of doing it all over again hits much harder. Choose quality upfront; it pays off in peace of mind and long-term savings. Good waterproofing is about keeping your home safe, sound, and stress-free. That’s what 20MCC stands for. We are all about solving problems that matter to homeowners. With us, you get: Products that are proven to work (not just promised) Teams that know exactly what they’re doing Long-term warranties that mean something Transparent pricing, no games, no gimmicks Fast responses when you need help From small touch-ups to full building projects, we handle every job like it’s our own home. Waterproofing is something you’ve got to do right the first time. Once moisture sneaks in, it spreads fast. Paint starts to bubble, plaster begins to crack, and before you know it, you’re facing damp walls, mold, or worse. So don’t wait until the signs are obvious. If your walls feel damp, paint is starting to peel, or you just want to make sure your building holds up through the seasons, act now.Why Waterproofing Your Exterior Walls Matters More Than You Think
Common Signs Your Exterior Walls Need Waterproofing
Methods of Exterior Wall Waterproofing That Actually Work
1. Acrylic-Based Waterproof Coatings
2. Cementitious Waterproofing
3. Elastomeric Wall Coatings
4. Silicone Water Repellents
5. Exterior Wall Cladding
Step-by-Step Waterproofing Process
1. Inspect the Walls
2. Clean the Surface
3. Fill the Cracks
4. Apply Primer
5. Apply the Waterproofing Coating
6. Curing and Final Touch
Long-Term Benefits of Exterior Wall Waterproofing
1. Keeps Your Walls Dry and Strong
2. Helps Paint Stay in Place
3. Keeps Indoor Air Fresh and Healthy
4. Boosts Your Property’s Appeal
5. Cuts Future Repair Costs
Mistakes to Avoid in Exterior Wall Waterproofing
1. Don’t Ignore Cracks
2. Dirty or Damp Walls Won’t Cooperate
3. Skipping Primer
4. Corners and Joints Are Trouble Spots
5. Cheaper Isn’t Always Smarter
Why 20MCC Is the Name People Trust for Wall Waterproofing
Final Thoughts