.webp)
Construction Chemicals

As a homeowner, one of the most frustrating problems you can face is water leakage in the wall. It can be difficult to detect and even more challenging to fix if not treated on time. However, if left untreated, it can cause serious damage to your home's structure and even create health hazards for your family. In this blog, we'll guide you through the steps to find and repair water leakage in the wall.
Before we jump into the process of repair water leakages, it's important to be able to identify the warning signs. Here are a few things to look out for:
If you notice a musty odor in a specific area of your home, it may be a sign of water leakage. Water that seeps into the wall can create a damp and musty environment, which is a breeding ground for mold and mildew.
Mold is a common problem that often occurs in areas with high humidity or moisture. However, if you notice mold growing in unusual areas like the walls, it could be a sign of water leakage.
Water leakage can create discoloration or stains on the walls. Look for yellow, brown, or gray stains that are irregularly shaped or do not have a clear cause.
If you notice that your ceiling is bulging or sagging, it may be a sign of water damage. This is especially true if the ceiling is located directly below a bathroom or other water source.
Water leakage issues, whether caused by seelan in walls, damp walls, or cracks resulting in seepage, can be managed effectively when treated at the source. Below are ways to go about this mitigation.
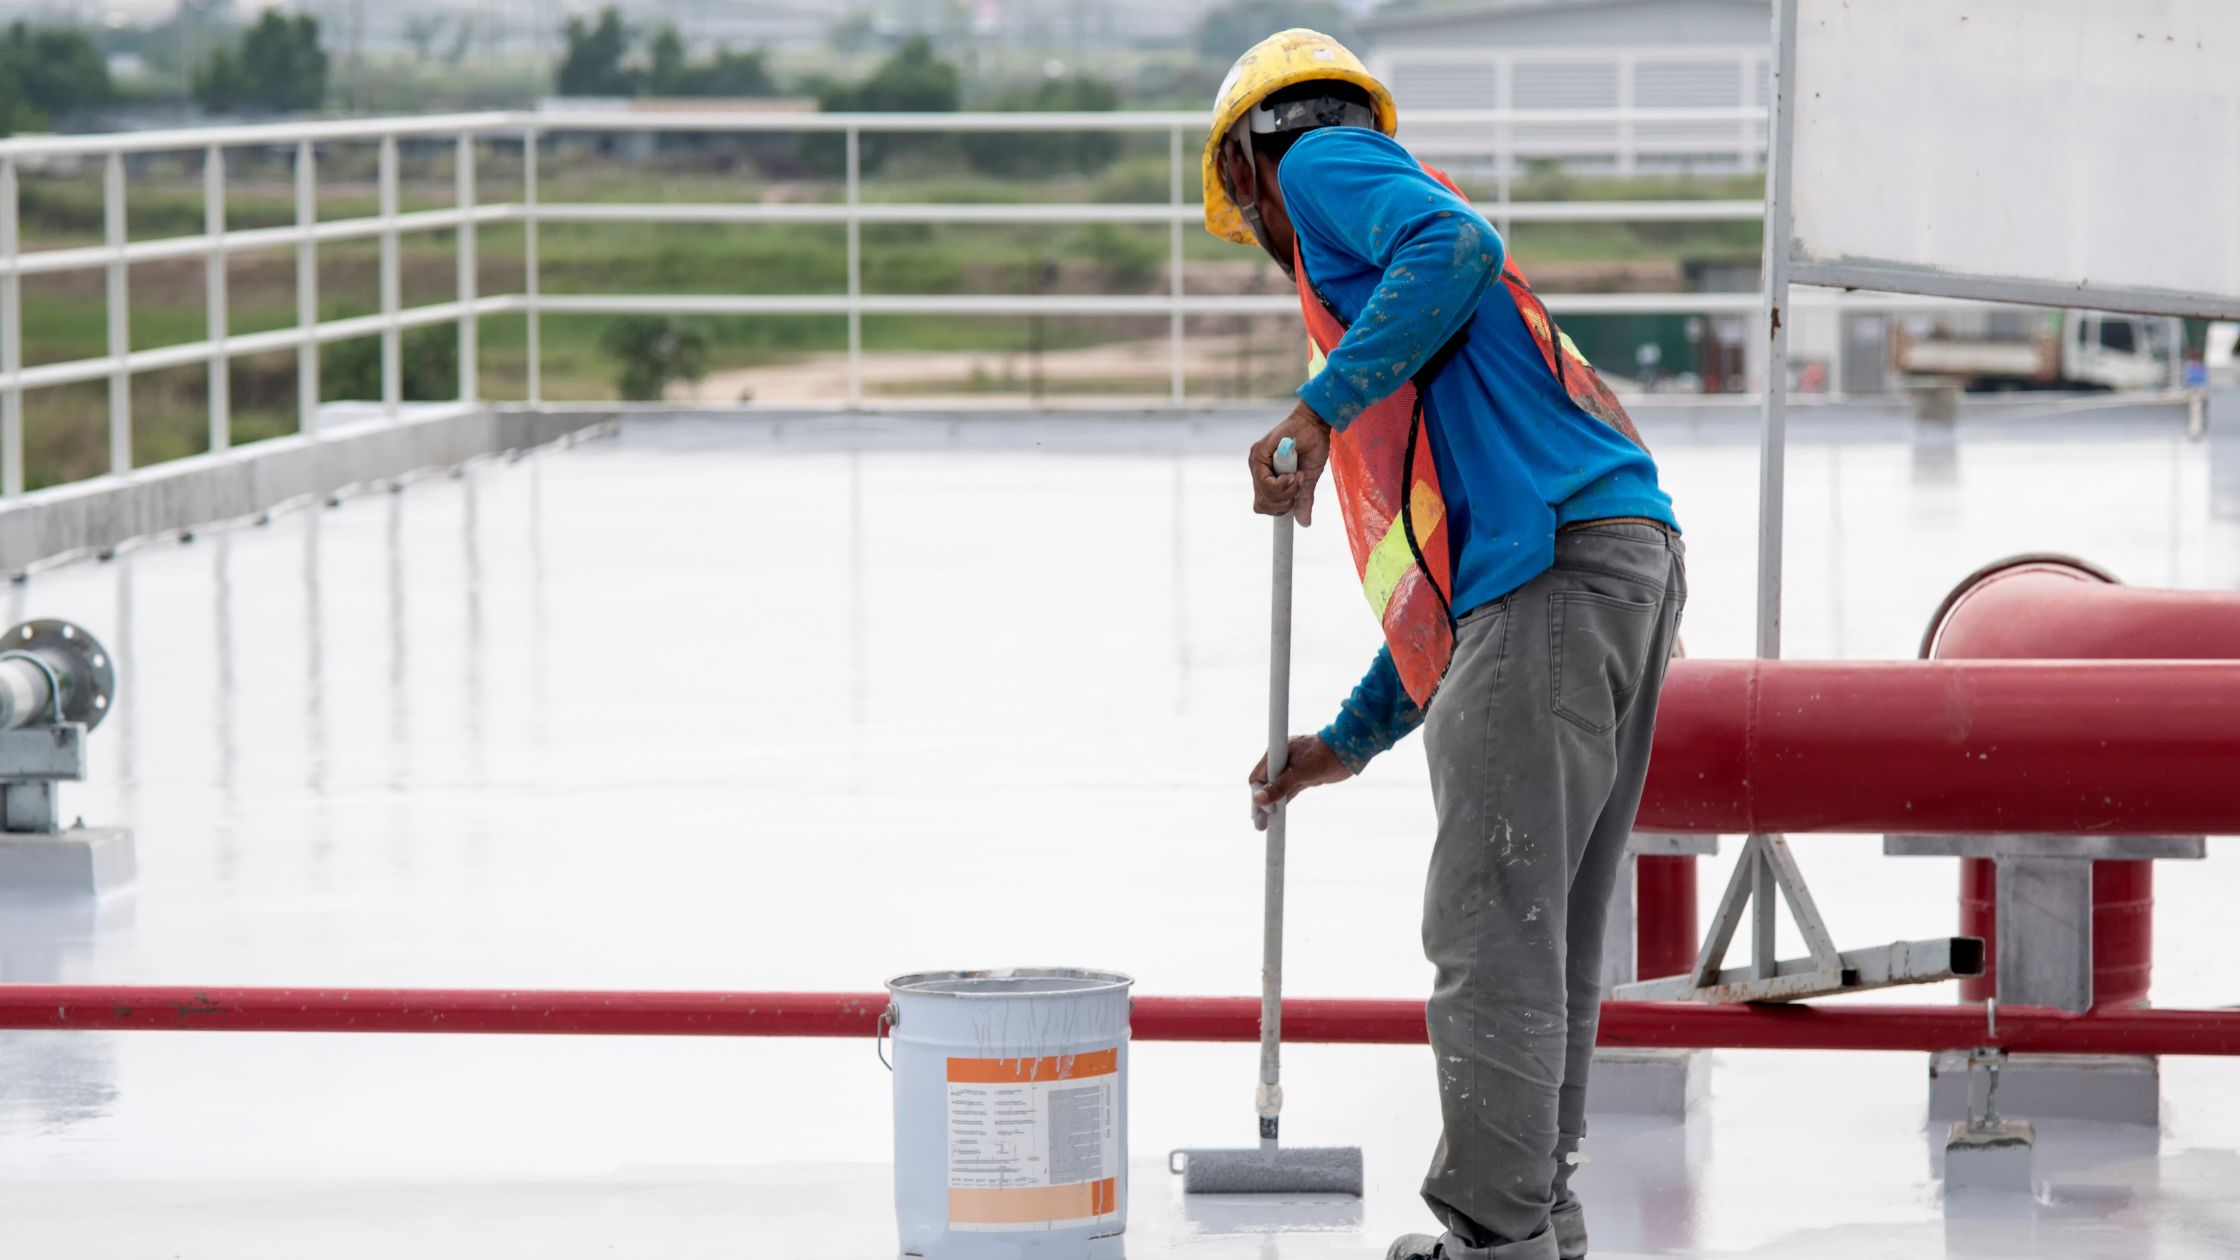
The roof is one of the areas where water leakage might originate. Cracked roof covers or roof tiles might be allowing rain water to get in and cause dampness.
Use waterproofing coatings or membranes.
Check for cracks and damaged tiles regularly.
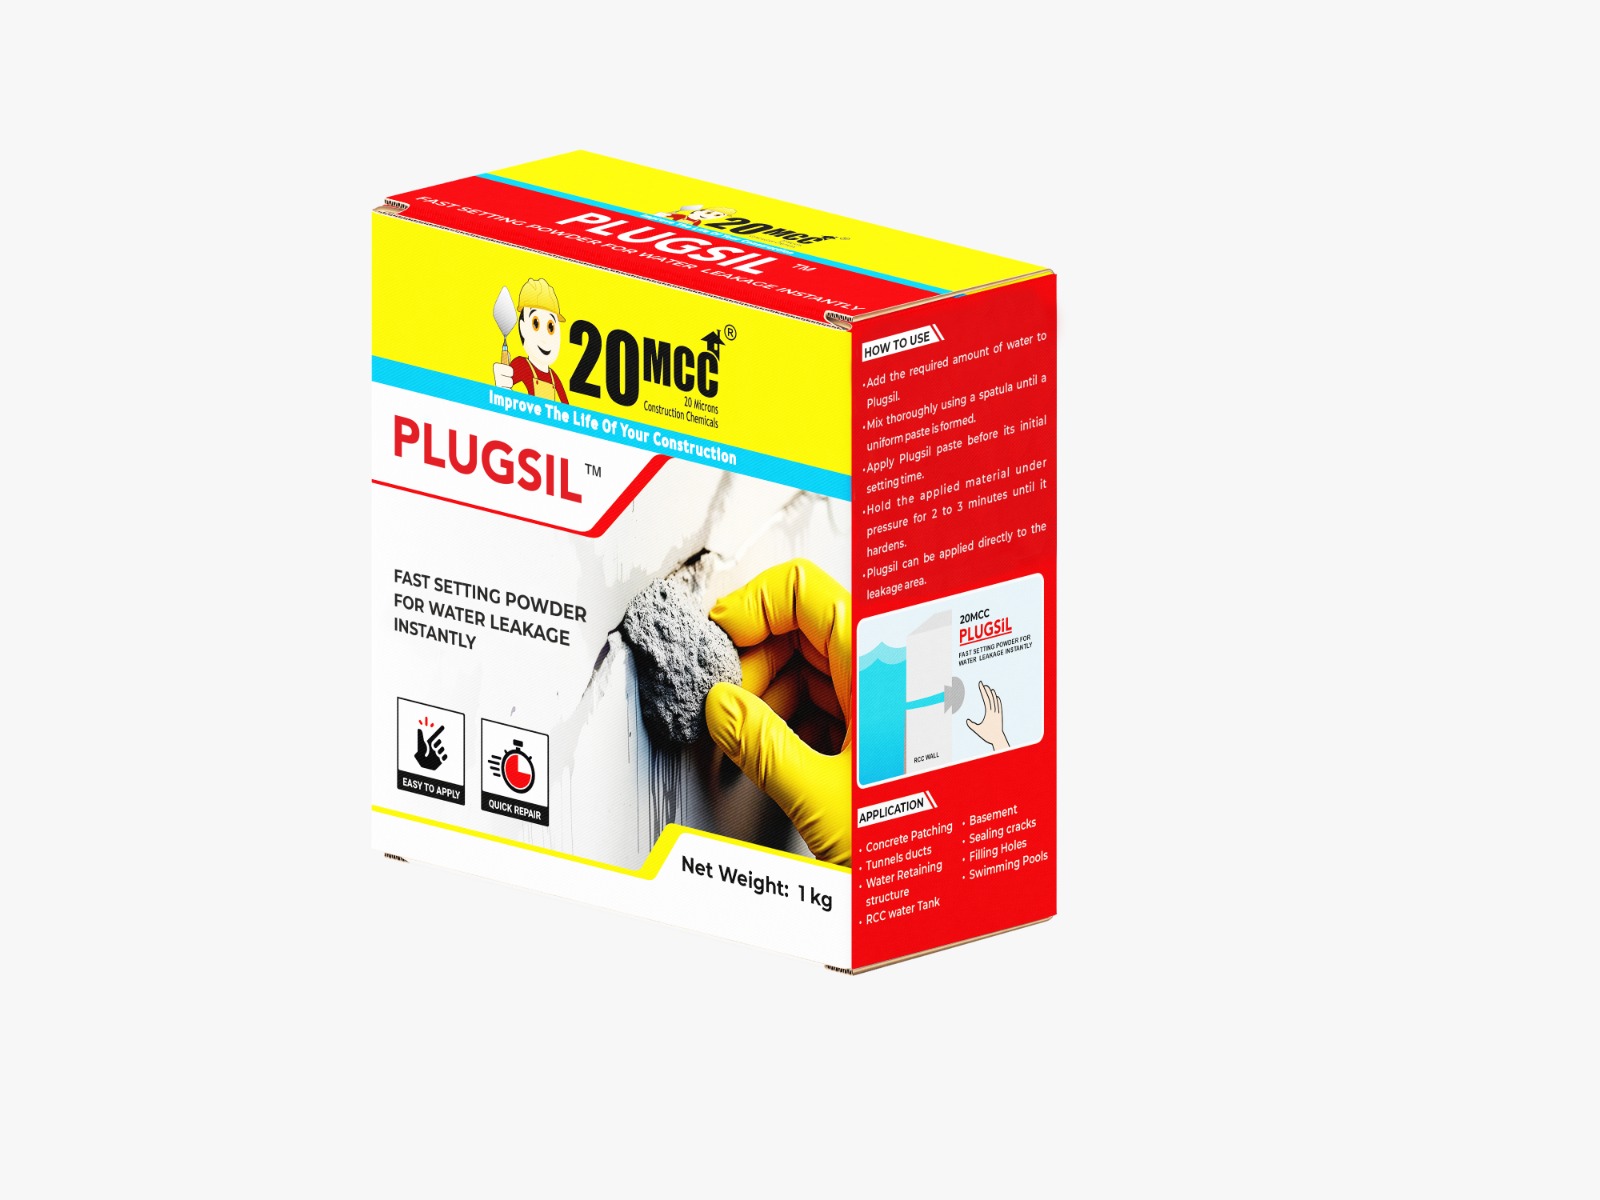
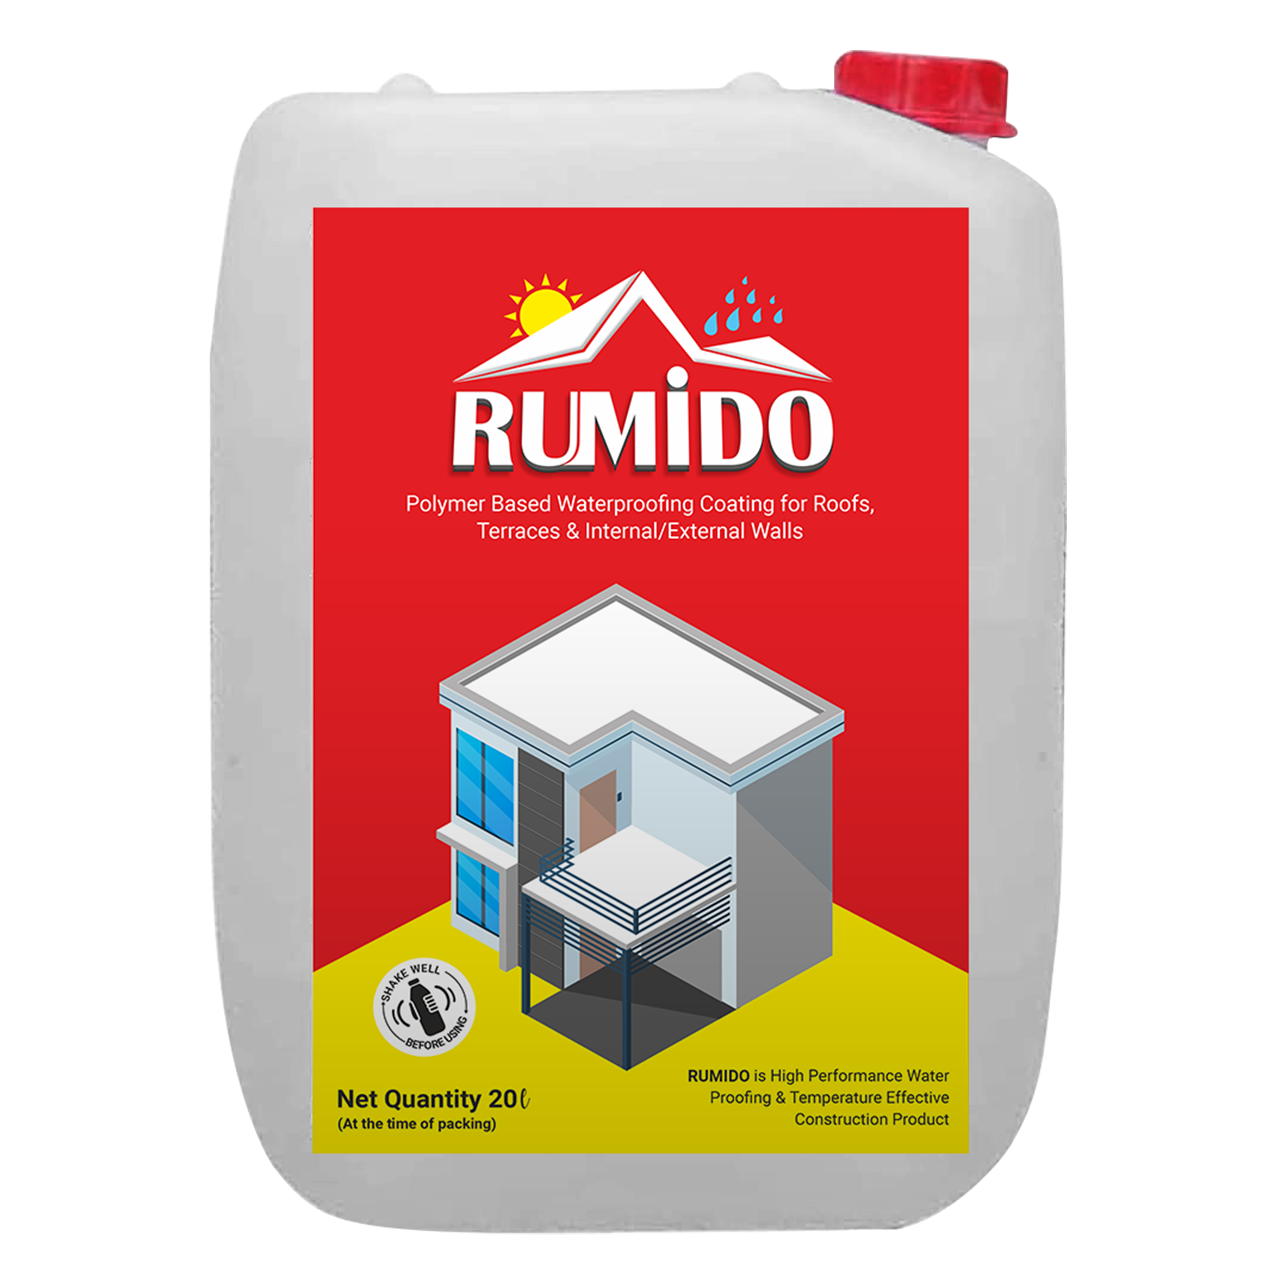
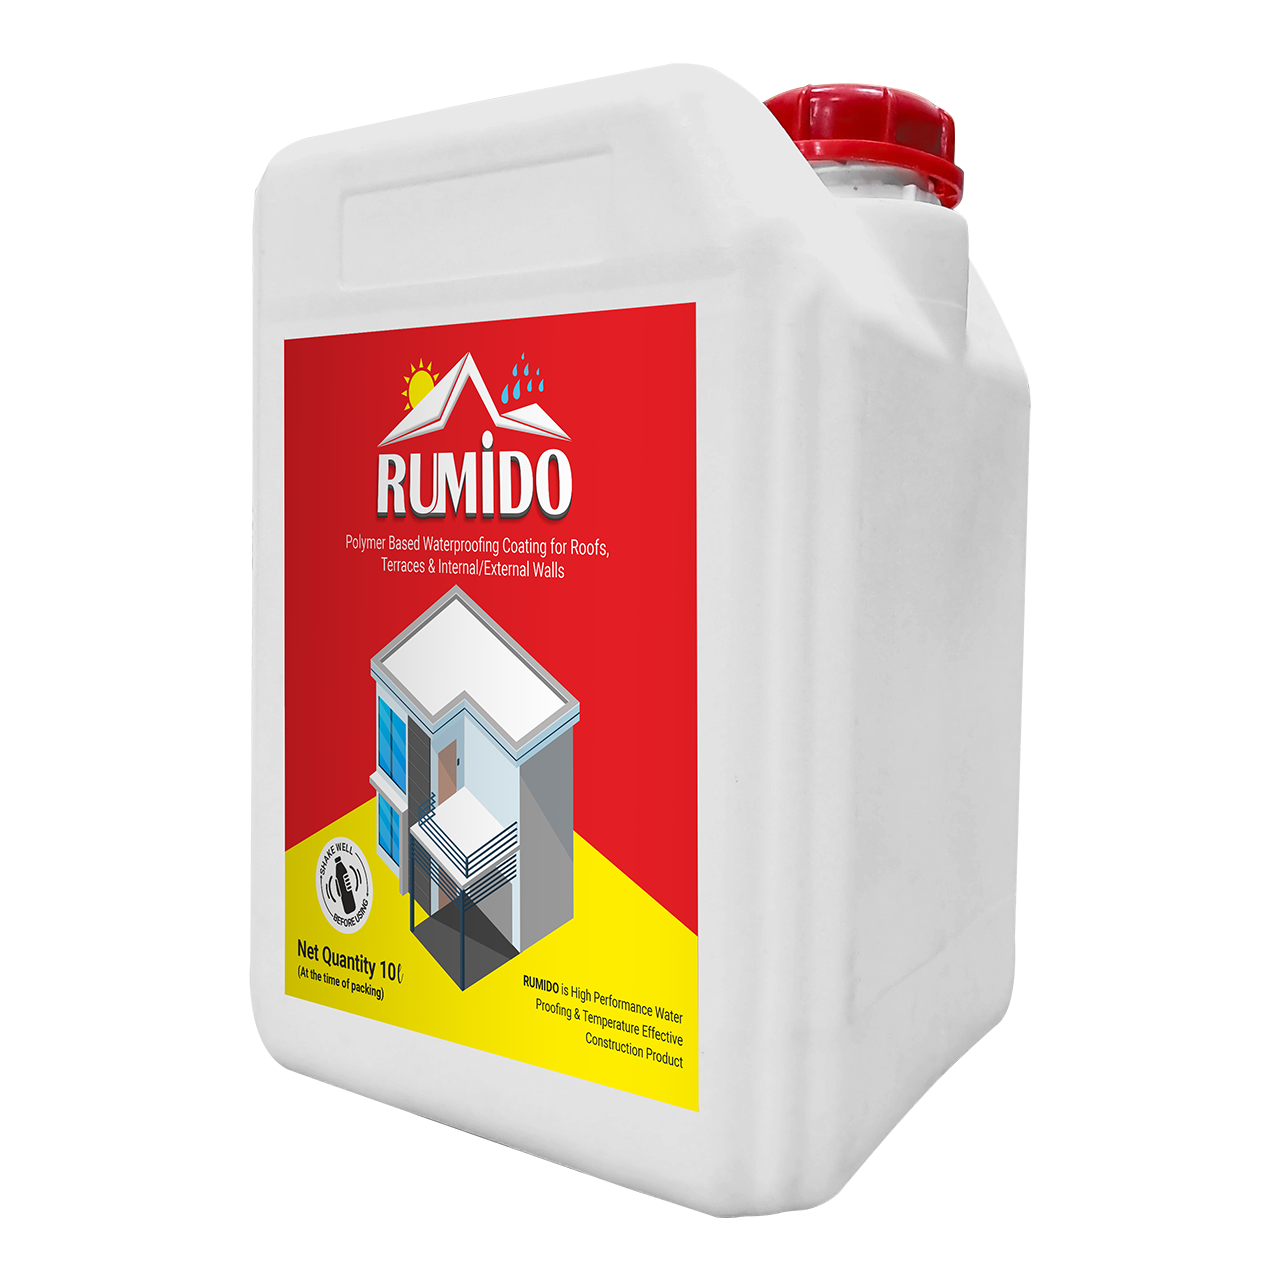
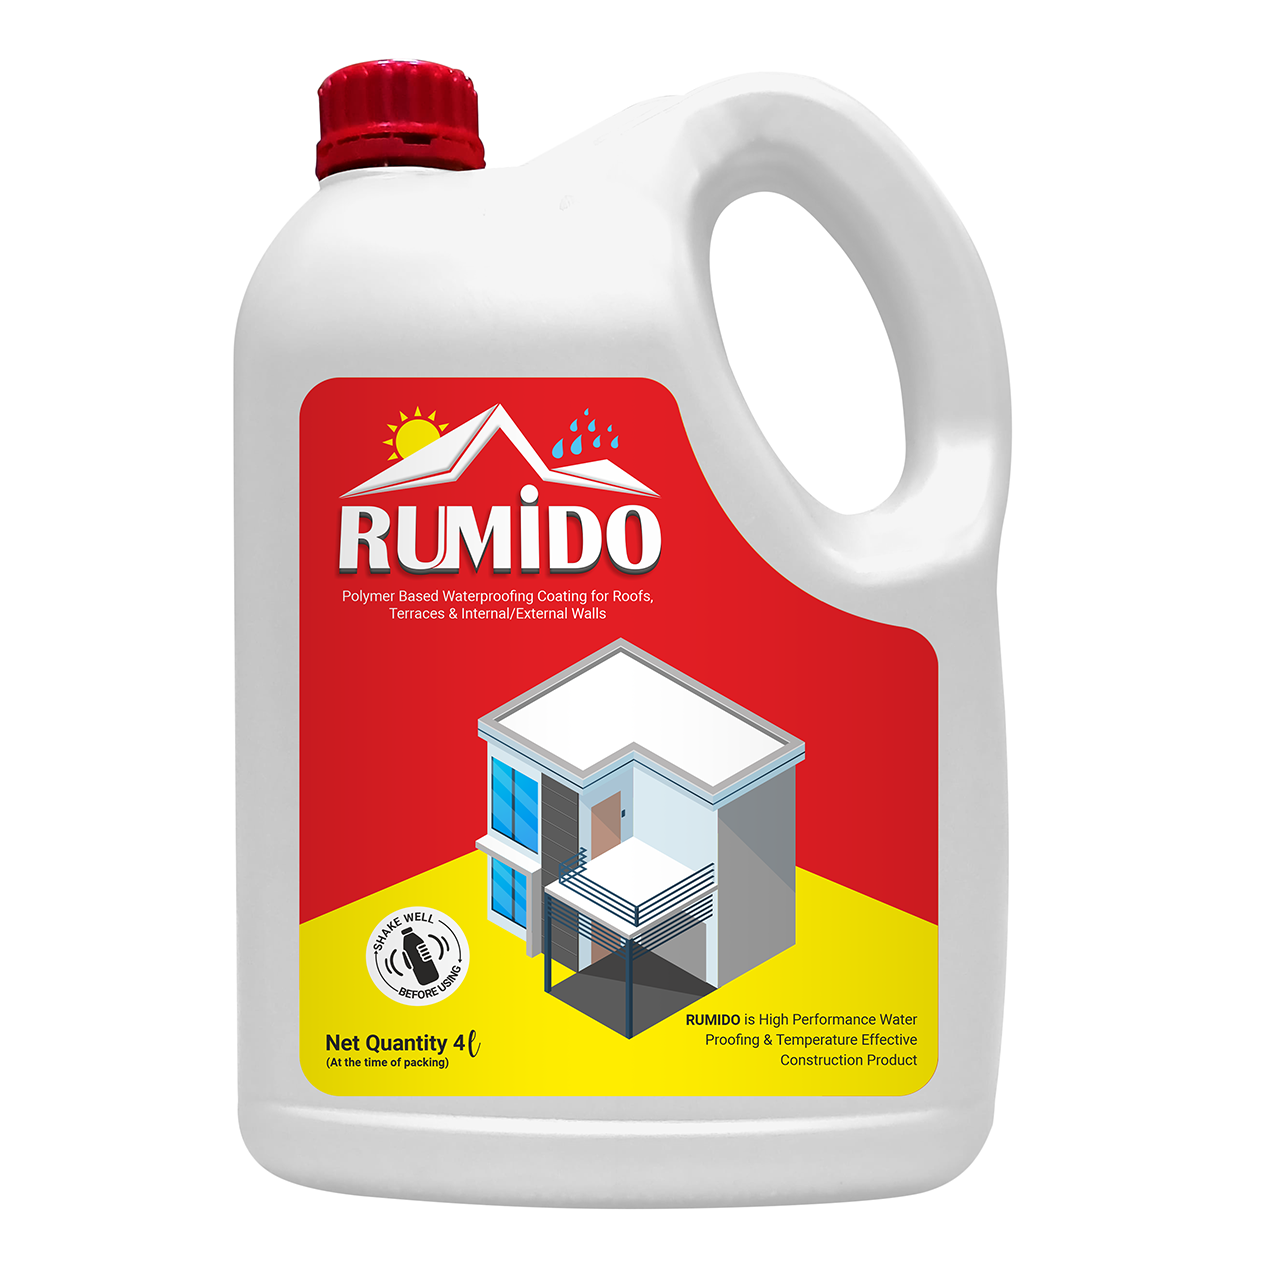
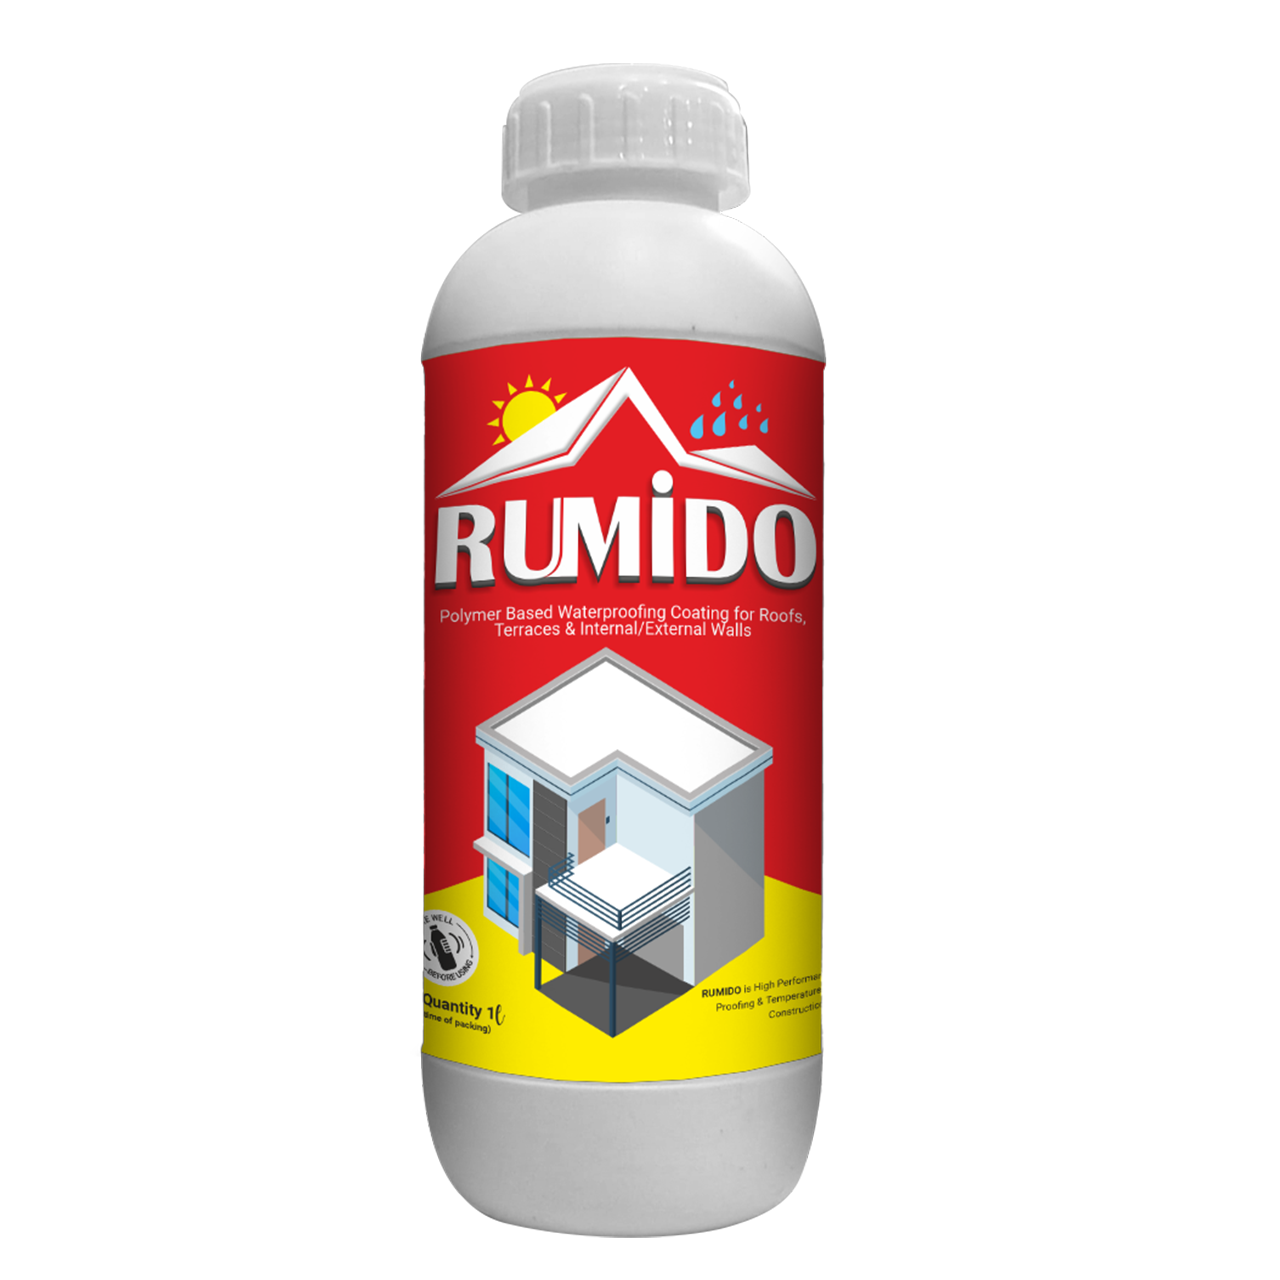
Use robust solutions for water leakages, such as 20MCC’s Nanosil, to defend the roof against water seepage.
Water stains or damp walls are a classic indication that water is seeping in from the interior.
Fix any leaking plumbing right away.
Use waterproof sealant to repair cracks.
Use water leak repair chemicals to help reinforce weak areas around walls.
Your exterior walls suffer from rain and moisture exposure, and this leads to seelan in walls.
Use external wall coatings that weatherproof and seal moisture.
Stop gaps around windows and doors.
Use professional-grade leak solutions for extended periods of peace.
Unswept and poorly managed drainage around the home is a silent cause of water leaking from the walls.
Sweeping and unblocking of gutters and downspouts must be done regularly.
Manage the slope around the house such that it directs water away from the walls and foundation.
To alleviate recurring leakage problems, installing an adequate drainage system is essential.
Once you've identified the warning signs of water leakage, it's time to take action. To know how to make your home 100% waterproof, it's time to opt for Leakage Proof Chemicals by 20mcc. To know more about it, read this blog
Moving ahead, if you want to know tips to fix water leakage, Here are the steps you need to take to repair water leakage in the wall:
The first step is to confirm that there is, in fact, a wall leak. One way to do this is to turn off all water sources in your home and then check the water meter. If the meter is still running, it's likely that there is a leak in the wall.
Before you start repairing the leak, it's important to turn off the main water supply to your home. This will prevent any further damage and allow you to work safely.
Once you've confirmed the leak, the next step is to repair water leakage from the damaged pipe. Depending on the location and severity of the leak, you may need to call in a professional expert for help or opt for Water repellent service to prevent leakage.
Once the pipe is repaired, it's important to dry out the affected area. This can be done using fans, dehumidifiers, or other drying methods. Make sure the area is completely dry before you start any repairs.
Once the area is dry, it's time to repair the wall. This may involve removing damaged drywall, insulation, or other materials. Be sure to follow the appropriate safety precautions when doing this.
To prevent future leaks, you may want to consider applying a waterproofing chemical - Nanosil to prevent the affected area. These products can help to seal and protect the wall, preventing water from seeping in.
If you're dealing with water leakage in the wall, don't wait to take action. The longer you wait, the more damage it can cause. By following the steps outlined in this blog, you can identify and repair water leakages, protecting your home and family.
At 20mcc, we offer a range of water leakage solutions for walls and provide waterproofing chemicals. Contact us today to learn more.